
FROM BLAH TO BEAUTY Before and After: Master Bedroom Makeover

Can't believe we lived like this for many years minus all the storage boxes. But this is a reality for many people, bedrooms become a go to place to store other items. Many of us leave our bedrooms last on the decorating to do list.
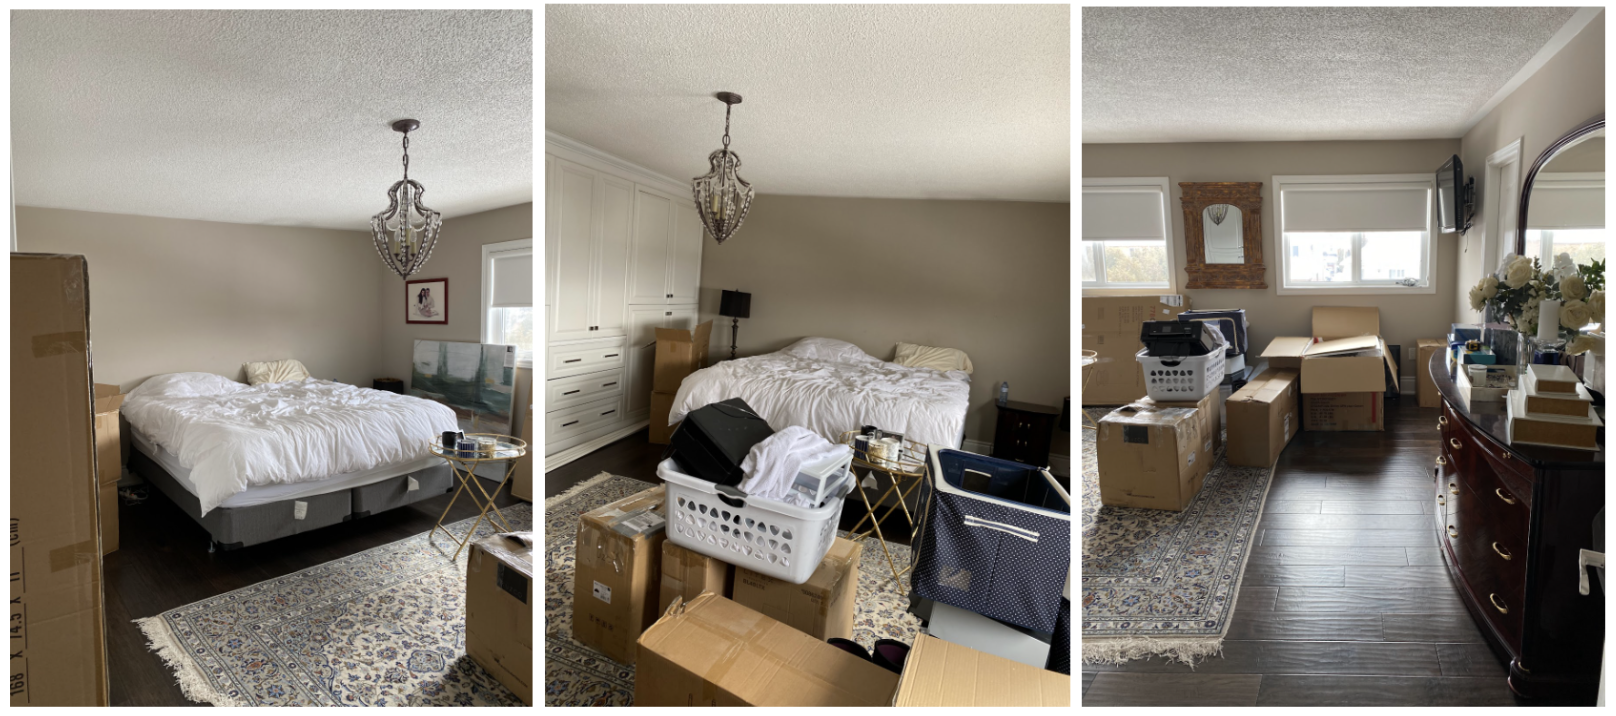
As you can see, in the before pictures, I was working with 5” wide plank distressed scraped espresso wood flooring that I love, built-ins with pewter handles and that's it. Everything else had to go, even the popcorn ceiling.
After becoming widowed 2 years ago the bedroom became my safe place, a sanctuary, that is both functional and beautiful.
Inspiration
The starting point for any decorating project is inspiration, but first ask yourself these questions with regards to your master bedroom makeover.
What is your design style?
What mood do you want to create?
What are your design goals/wish list for the project?
What is your budget?
Inspiration can be found anywhere. These are my favorite go to for inspo:
Pinterest is the perfect platform to find bedroom inspiration for your master bedroom makeover.
Tip: Create a board on Pinterest of what you love!!
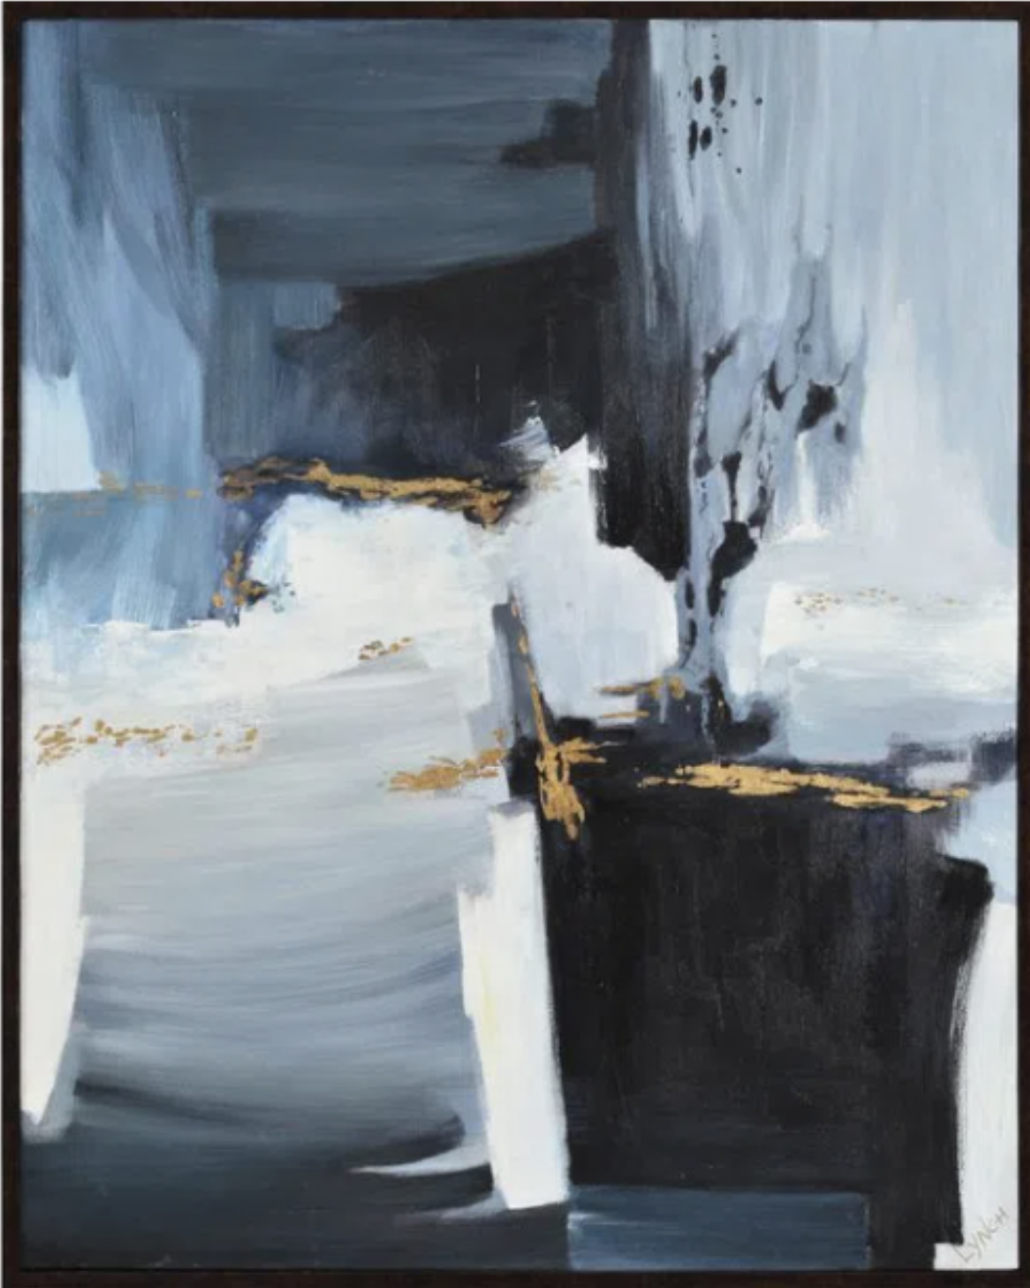
I found this stunning abstract art that was the jumping off point for the colour palette, mood & overall design direction for the master bedroom makeover.

Colour Palette
Colours below are elegant and chic.


Have a Design Plan
Furniture layout and clearances is the 2nd step in designing a bedroom makeover. Know all the measurements of the walls guaranteeing the furniture will fit. Make a list of all the pieces you want in the bedroom. Like a puzzle, place it where it fits and makes sense.

Create a mood board and begin to place the pieces you have found on the board. This enables one to see if everything looks great together ensuring the design is co-eshive.

Design Details
Focal Point Wall- Tip: Create a layered textured look. Place the bed on this wall. I added architectural interest with inexpensive Home Depot trim(two rectangles) flanking the bed, and painted the trim the same colour as the walls BM Simply White OC 117.
Wallpaper: can't say enough about it. This wallpaper is subtle and adds so much dimension. It was installed in the smaller trimmed rectangle.
Popcorn ceiling removed, although a messy endeavor it makes the space look more finished and polished.
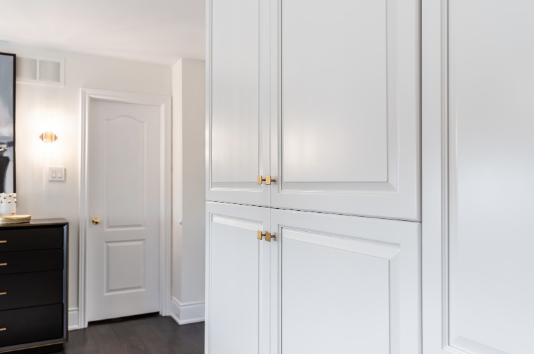
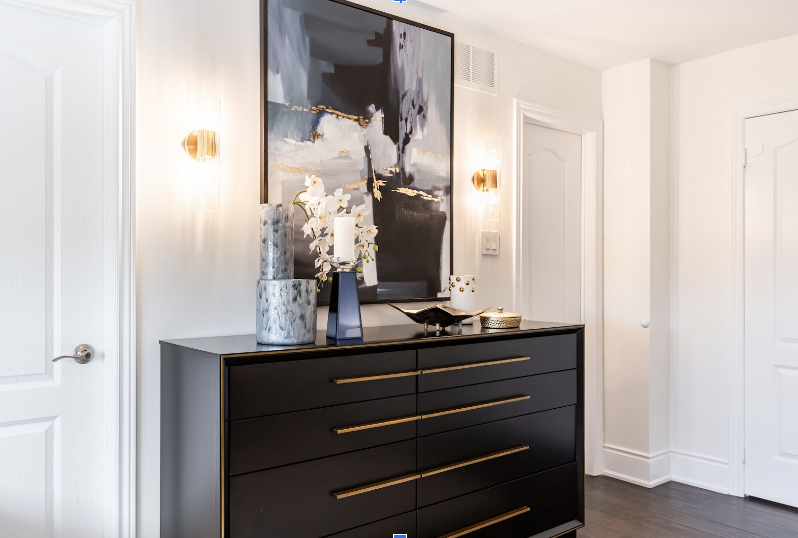
Built-ins: pewter hardware was replaced with gold hardware, inexpensive and a finishing detail that elevates the space. The gold is repeated and found in the art, chandelier, dresser and nightstand handles, accent chair and pillows.
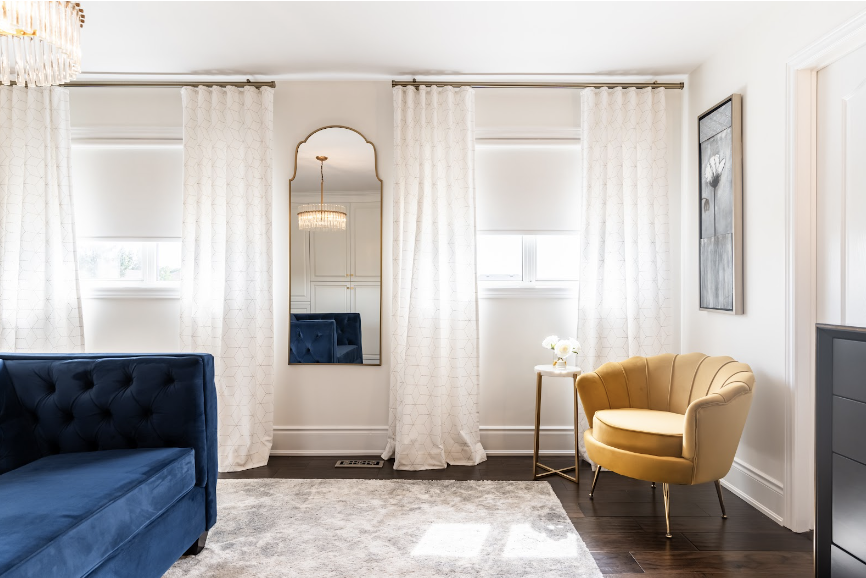
Ripple fold drapery: hangs so beautifully, gives coverage from sunshine and also gives the space an expensive look but inexpensive to implement. Just need to purchase the ripple fold hardware!!

Created a dramatic pretty reading nook with this fabulous gold velvet chair from a local retailer.
Tip: Mix retail with some custom to keep on budget. Places I sourced from are Homesense, Urban Barn, Lite Mode, and Wayfair!! The custom pieces I invested in were the upholstered bed, drapery, dresser and nightstands.
Tip: The custom bed and adding design details such as custom ripple fold drapery gives the room a designer elevated look.

Tip: Dresser and nightstands do not have to match but I believe they should compliment each other. I kept the same finishes(espresso), both have gold hardware and are modern, transitional and timeless in style. Keeping these tips in mind makes it work.
It can be difficult to manage a room from blank/dated canvas to curated beauty. Let us assist you in designing your dream master bedroom makeover. Of course budget and making the space look stunning is definitely a priority BUT HOW DOES IT MAKE YOU FEEL when you walk into the room. Our minds deserve a break, a place of reflection and rest.

Contact us today and let's make it happen!
Let’s Work Together!